

Mushroom Trail Basics for Walkers
Learn which areas are best for spotting edible varieties and how to identify common types safely.
What to expect on your first walk — surface conditions, distance markers, and rest spots along the way.
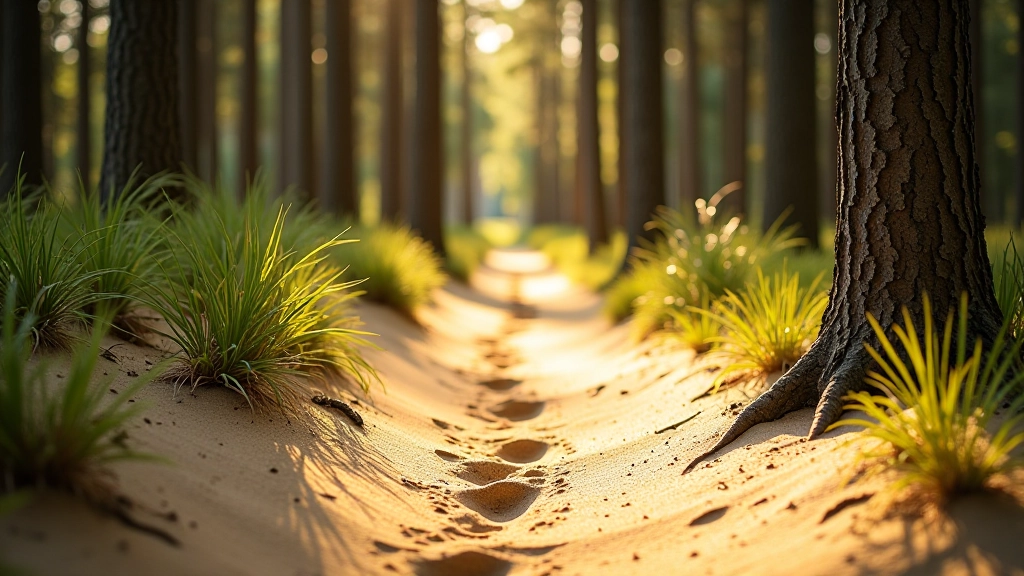
Sandy paths aren't what many beginners expect. They're not like beach sand — they're firm, well-packed earth mixed with fine particles that create a distinct walking surface. The trails here shift slightly under your feet, which actually engages your core and leg muscles more than regular gravel paths.
What you'll notice first is how the surface absorbs impact. Your knees will appreciate this cushioning, especially if you've got arthritis or joint sensitivity. But don't be fooled — sandy terrain demands attention. Your footing changes with moisture levels and time of day.
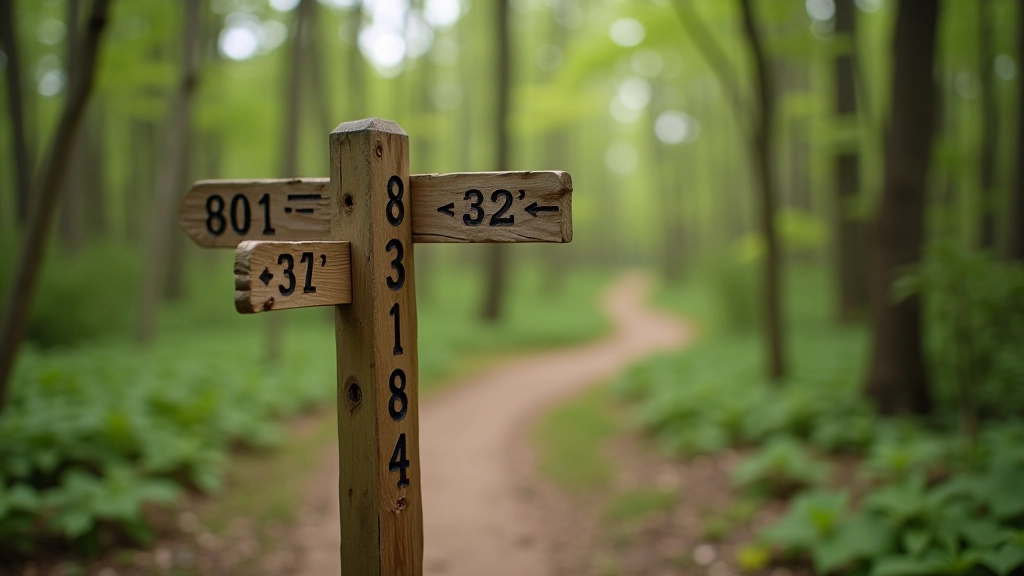
Every main path here has markers. They're not subtle — painted posts appear roughly every 500 meters, showing how far you've come and how much further you've got to go. The numbers aren't fancy, but they're reliable. We've tested these routes dozens of times, and the markers stay consistent.
The markers serve another purpose beyond navigation. They're psychological anchors. When you're 2 kilometers in and wondering if you've chosen a route that's too long, seeing the next marker gives you a concrete goal. "Just reach the next marker" becomes your mantra.
Most beginners complete their first kilometer in about 18-22 minutes. That's not rushed, not slow — it's realistic walking pace on sand. If you're taking longer, that's perfectly fine. This isn't a race. Bring a notebook and mark the markers as you pass. It's surprisingly satisfying.
You'll find proper benches at kilometer 1.5, 3.0, and 4.5 on the main loop. Not decorative benches — solid wooden ones built for comfort. The 3-kilometer mark has the best shelter, tucked under a dense pine cluster. This is where most people take their main break.
Sandy paths feel different from day one. Your feet sink maybe a centimeter with each step — not enough to be exhausting, but enough to engage muscles differently than concrete or asphalt. This is actually beneficial. You're strengthening stabilizer muscles without even realizing it.
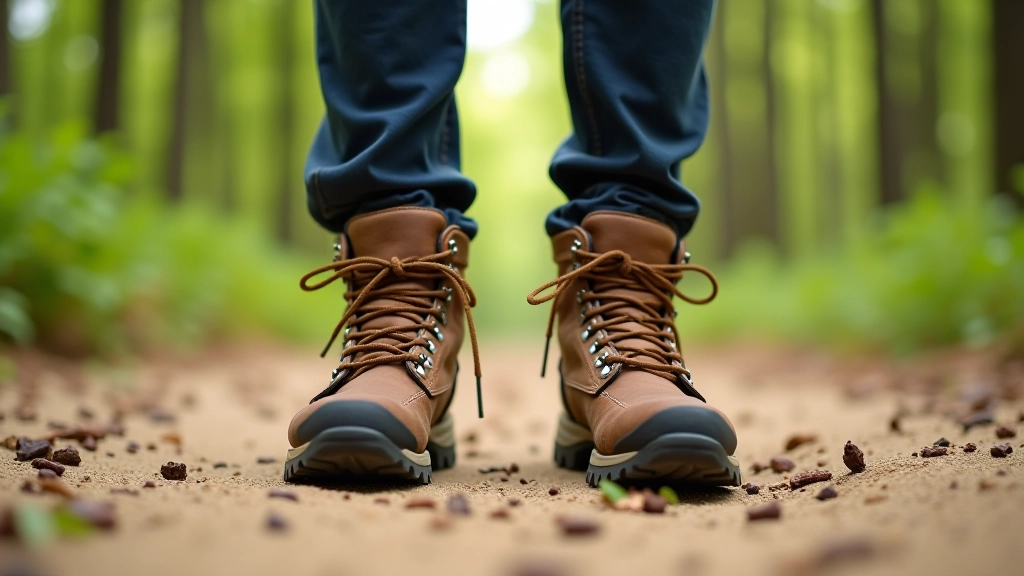
Footwear matters here. Regular trainers work fine, but trail shoes or hiking boots with good ankle support are better. Don't overthink it though — we've seen people in regular walking shoes complete the full route successfully. What matters is that your shoes have grip. Smooth soles slip on packed sand.
Your first walk, you might feel slight soreness in your calves the next day. That's normal. The sand forces your feet to work differently than flat surfaces. By your third or fourth visit, your body adapts. The soreness disappears.
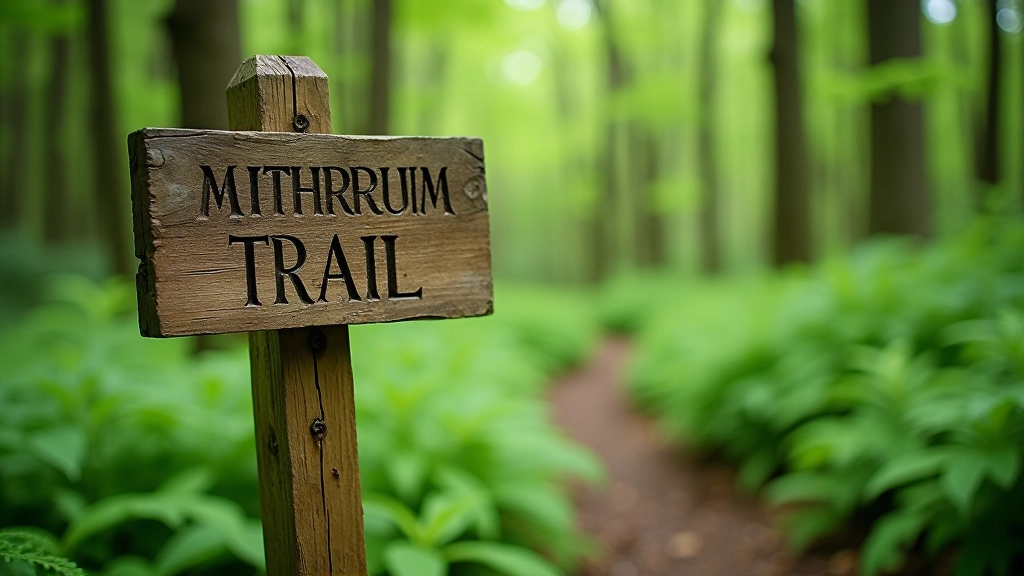
The main sandy path loop is 5 kilometers. That's your baseline. But there are shortcuts at 2.5 kilometers and 3.8 kilometers if you need them. The loop is designed so you can bail out without backtracking — you'll always end up back at the starting point.
Most first-timers choose the 2.5-kilometer option. That's not failure — that's smart planning. It gives you a genuine feel for the terrain without committing to nearly an hour of walking. You can always return next week and go further.
The route itself is straightforward. You won't get lost. The markers keep you honest, and the path itself is clear and well-maintained. There's no scrambling over rocks or negotiating technical terrain. It's walking. Simple, straightforward walking on sandy earth.
Your first walk on sandy paths should feel manageable. Not too easy that you're bored, not so challenging that you're discouraged. Choose the 2.5-kilometer loop. Wear comfortable shoes with good grip. Bring water and a light snack. Go mid-morning when the sand is at its firmest.
Pay attention to how your body feels. Not pain — that's a stop signal — but effort and engagement. Sandy terrain works your muscles differently, and that's the point. By the end of your first walk, you'll understand why these paths are popular with people looking for genuine, accessible exercise.
The routes are here whenever you're ready. They don't change. The markers stay put. The benches are solid. Come back next week and try the full loop. Or come back tomorrow and do the short route again. There's no rush. These paths have been here since 2020, and they're not going anywhere.
Choose activities that match your fitness level, check local conditions before travelling, and speak with your GP if you have health concerns before starting a new activity. Sandy terrain does engage muscles differently than regular surfaces — that's intentional, but listen to your body.
Related guides to enhance your woodland experience
Learn which areas are best for spotting edible varieties and how to identify common types safely.

When berries are ready to pick, which routes pass through the best picking areas, and seasonal variations.
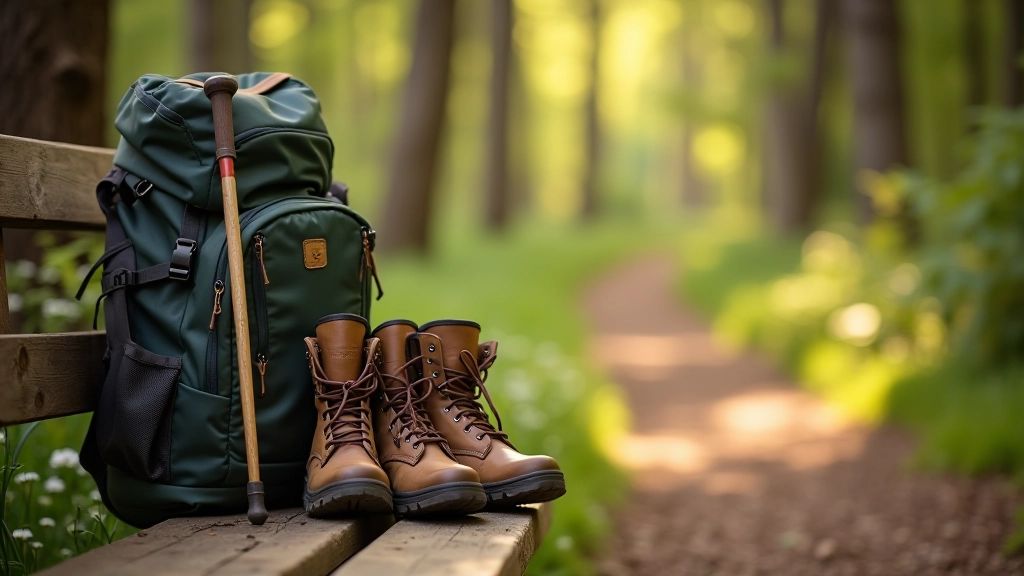
Essential gear for easy day hikes — footwear for sandy terrain, water, rest breaks, and weather protection.